I bought a yard of jersey fabric in 2 different colors recently and the other day I woke up with a vision playing in my head. That sounds dramatic, but the inspiration was there for a one seam tunic. It took me a little while to wrap my brain around the logistics of such an endeavor, but it ended up being quite simple after I sketched it out. I wanted one seam because one seam means less sewing and faster gratification. I'm all about it. Here's what I did:
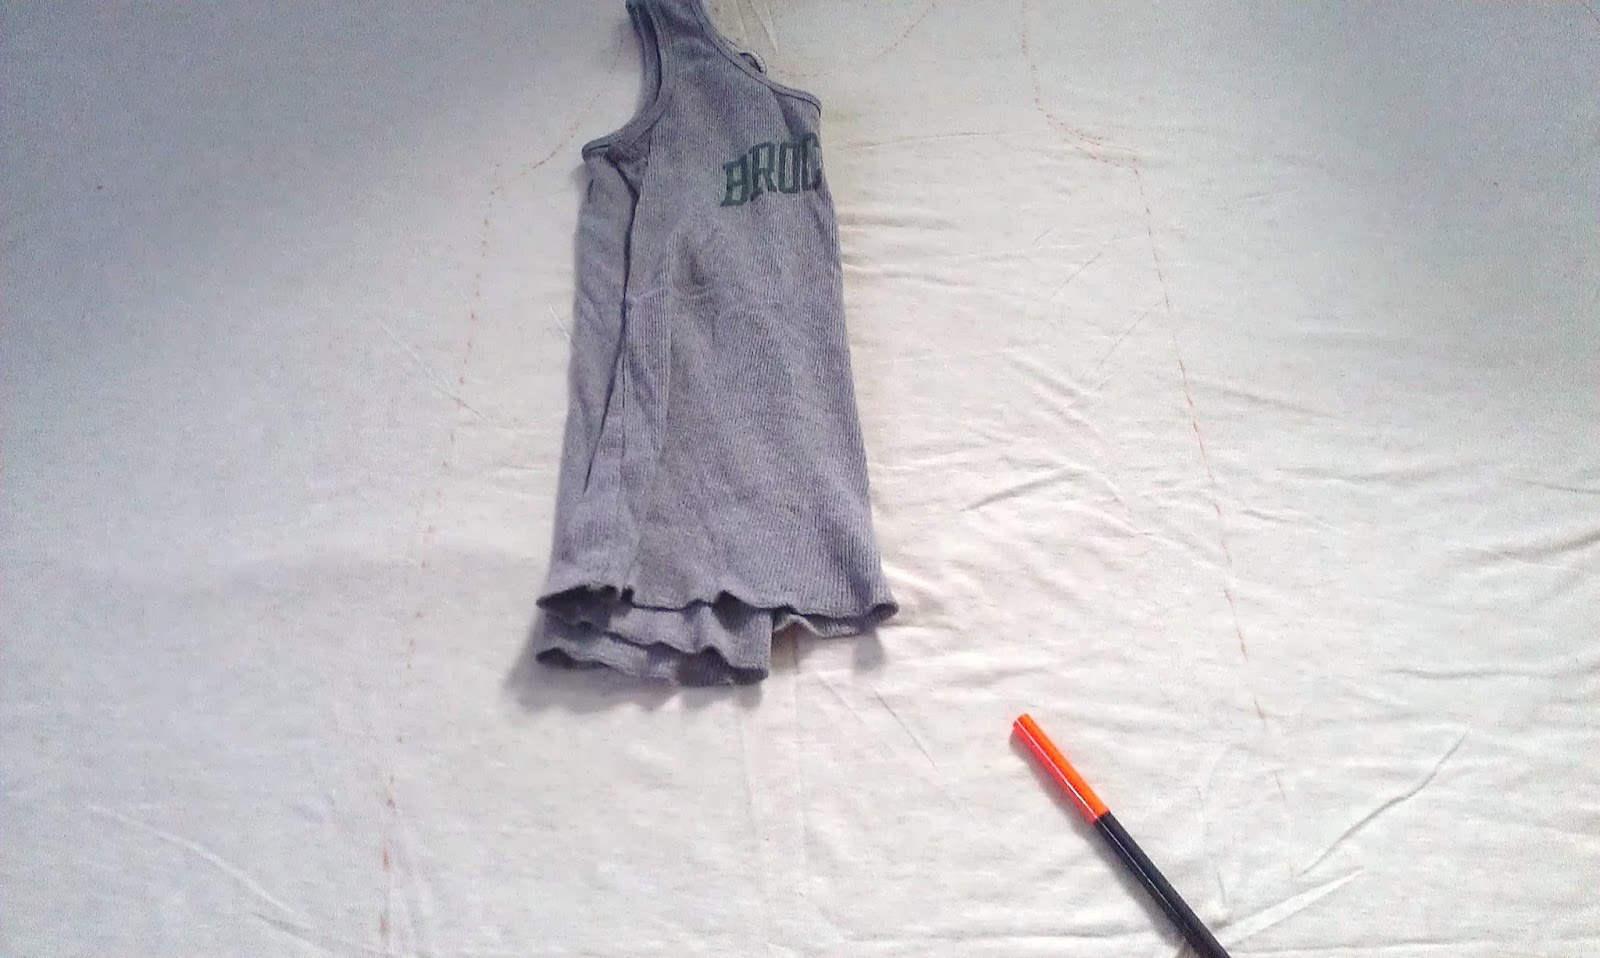
I used 2 different tank tops to get the basic shape down. I wanted the overall shape of the gray tank top, but the width/fit of the striped tank.
I used a washable crayola marker to lightly mark an outline around my tank top. I folded it in half to get the sleeve and neckline curves how I wanted, then flipped the folded tank over to trace the other side.
Now, to achieve the one seam, that means you have to split the back in half and add one half to each side of the front of the tank. I wanted a simple back that went straight across.
This is what the tunic looks like after it has been cut out. One continuous piece of fabric. This is magical for anyone that hates pinning as much as I do.
Flip your fabric over so the right side is now facing you. Fold the two sides over to create the back of the tunic and pin the right sides together.
Your tunic should end up looking something like this. I used my rotary cutter to create a rounded bottom edge.
Sew up the back. If using jersey, start with a zigzag stitch all the way down. Then reinforce the seam with a straight stitch.
I was good this time and actually hemmed the entire tunic. High fives and applause are welcome.
This is the finished piece. I am so happy with how it turned out. Perfect for layering for the fall! I'll have an outfit post Monday featuring this tunic. If you like what you see on this blog I would be so appreciative if you decided to follow me on bloglovin' or hit up Brave Felicity's Facebook page (links on the right) and hit 'Like'!


This tunic looks fantastic!
ReplyDeleteThanks KP!! You look fantastic :)
Delete