Showing posts with label sewing. Show all posts

Saturday

The Epiphany Tee (Inspired by Free People) DIY

I'm often inspired by Free People's clothing. I can't afford their price tags, but I can try to make something similar! On the left is Free People's Road Trip Tee and on the right is what I'm calling the Epiphany Tee because it led to this post the other day. I love how loose this tee is and how it can be worn off the shoulder. Mine is far from perfect and I still need to adjust the neckline a bit, but it's wearable and I finally conquered sleeves! Sewing is a learning process and an adventure I hope I don't lost interest in because the rewards are awesome. I drafted a pattern using tips from the video below.
I used four or five existing shirts to get the shape I wanted, but this video made the process much simpler. It helped me remember to add in seam allowances (wicked important yo) and how to create the pattern for the sleeves. I wanted the front and back of my shirt to be identical so I only needed to create one body pattern and then cut out 2 pieces of fabric.
You can see my body and sleeve pattern above. I folded my fabric in half and then placed my patterns on the fold so that the pieces would be perfectly symmetrical. In past projects I've found that it's a bit challenging to cut out a full body piece without their being a bit of variation and this step helped with that problem considerably. Having never sewn a piece with sleeves before I found these instructions invaluable. In summary, pin and sew just the shoulders together first, then the arm hole around the sleeve, then the bottom of the sleeve continuing straight down the sides of the shirt.
Like most of my sewing projects, this was pretty experimental. When I have an idea I'm often so overcome with excitement that I skip important steps, but I'm getting smarter with the whole process. I'm counting my pattern and sleeve making skills as a win from this project.

Monday

Leather Pocket DIY

 
 You might remember this popular sweater-to-cardigan DIY I did several months ago. Well, I finally got around to making pockets for it. One of my goals this year was to learn to work with leather. My parents got me a bag of leather scraps for my birthday, a book about working with leather, and some basic tools. Turns out there are a bunch of different kinds of leather. Who knew? The scraps I have are garment weight so I was able to use my regular sewing machine, but you can't use pins when working with leather because they leave holes. To keep my leather pieces in place while I was sewing I used a bit of krazy glue because that's what I had on hand. Rubber cement seems to be recommended as an adhesive, but I think that's for heavier weight leathers.
1. Make a paper template that suits the size of your sweater. I settled on a 5"x4.5" rectangle.
2. Select and arrange your leather scraps making sure you provide enough surface area for your template.
3. Use a little glue to keep your leather pieces in place and sew the arrangement.
4. Place your paper template on top of your sewn together pieces and cut out your pocket. I found it was easiest to use my rotary cutter and mat for this process.
5. Determine where you want the pockets to be located on your sweater, then sew them in place.
6. Flaunt your leather pockets and DIY skills!


Saturday

Simple Saturday// Fancy Pants to Shorts DIY

 This is a super simple DIY. I saw crushed velvet fabric at Joanne's a week or two ago in an array of gorgeous colors and I thought it would be awesome to make crushed velvet shorts. It turns out my mom had an old pair of black crushed velvet pants that she doesn't wear anymore so I was saved the step of having to design, cut, and sew a whole pair of shorts. Instead, I just had to cut a pair of pants and hem the bottoms.

 I used a pair of shorts I like the length of as a guide for length and angle to cut the pants.

 Turn the shorts inside out and fold the bottom over twice so the raw edge is no longer exposed. Pin in place. Straight stitch around the top edge of each folded section. That's it! Super easy if you already have a pair of pants to work from. This would be cool and simple to do with any kind of interesting pants. I think tapestry slacks would make a really neat pair of shorts. I plan to wear mine with tights on New Year's Eve!


One Seam Tunic DIY

 I bought a yard of jersey fabric in 2 different colors recently and the other day I woke up with a vision playing in my head. That sounds dramatic, but the inspiration was there for a one seam tunic. It took me a little while to wrap my brain around the logistics of such an endeavor, but it ended up being quite simple after I sketched it out. I wanted one seam because one seam means less sewing and faster gratification. I'm all about it. Here's what I did:
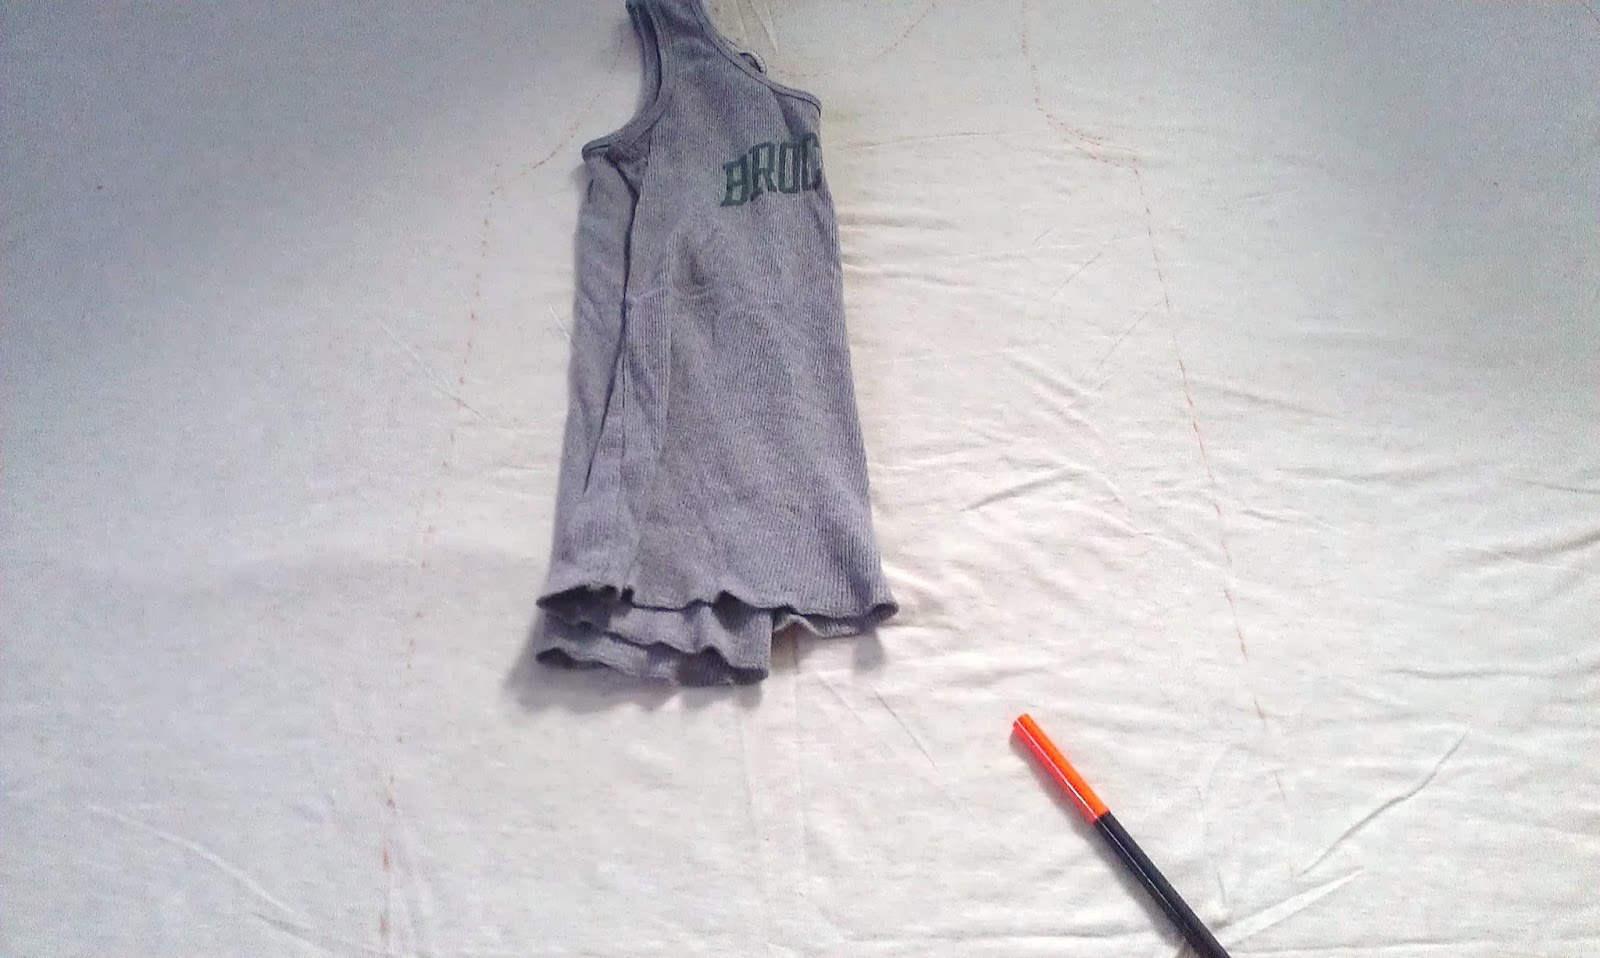
 I used 2 different tank tops to get the basic shape down. I wanted the overall shape of the gray tank top, but the width/fit of the striped tank.
 I used a washable crayola marker to lightly mark an outline around my tank top. I folded it in half to get the sleeve and neckline curves how I wanted, then flipped the folded tank over to trace the other side.
 Now, to achieve the one seam, that means you have to split the back in half and add one half to each side of the front of the tank. I wanted a simple back that went straight across.
 This is what the tunic looks like after it has been cut out. One continuous piece of fabric. This is magical for anyone that hates pinning as much as I do.
Flip your fabric over so the right side is now facing you. Fold the two sides over to create the back of the tunic and pin the right sides together.
Your tunic should end up looking something like this. I used my rotary cutter to create a rounded bottom edge.
 Sew up the back. If using jersey,  start with a zigzag stitch all the way down. Then reinforce the seam with a straight stitch.
 I was good this time and actually hemmed the entire tunic. High fives and applause are welcome.
This is the finished piece. I am so happy with how it turned out. Perfect for layering for the fall! I'll have an outfit post Monday featuring this tunic. If you like what you see on this blog I would be so appreciative if you decided to follow me on bloglovin' or hit up Brave Felicity's Facebook page (links on the right) and hit 'Like'!

Simple Saturday//Cut-out Dress DIY


This dress was inspired by this dress Tonya (The Moptop) wore. I am by no means a very skilled sewer. I lack the patience and finesse to create anything truly miraculous, but I'm pretty happy with how this dress turned out. I used a gray jersey material which gets pluses for being both comfortable and not fraying. The not fraying is a big deal because it allows me to be lazy and not hem the edges. If I were selling it I'd do a better job, but I rather like the raw edges. I used about 2 yards of fabric. To shape the top, I cut around a loose fitting tank top and then just extended the length of the dress cutting slightly diagonally all the way down the length of the dress to allow for something more drapey and less form-fitting. I wanted this dress to be looser. For the cut outs, I used a ruler and a marker to figure out roughly the size and placement of the shapes, then tied some scrap fabric in between each cut out. I learned the hard way that you have to use a zig zag stitch on jersey before a straight stitch to avoid bunching the stretchy material. But here it is! My second DIY dress. I plan to make a bunch more in different colors, but at more of a tunic length which will be perfect for layering for Fall.